


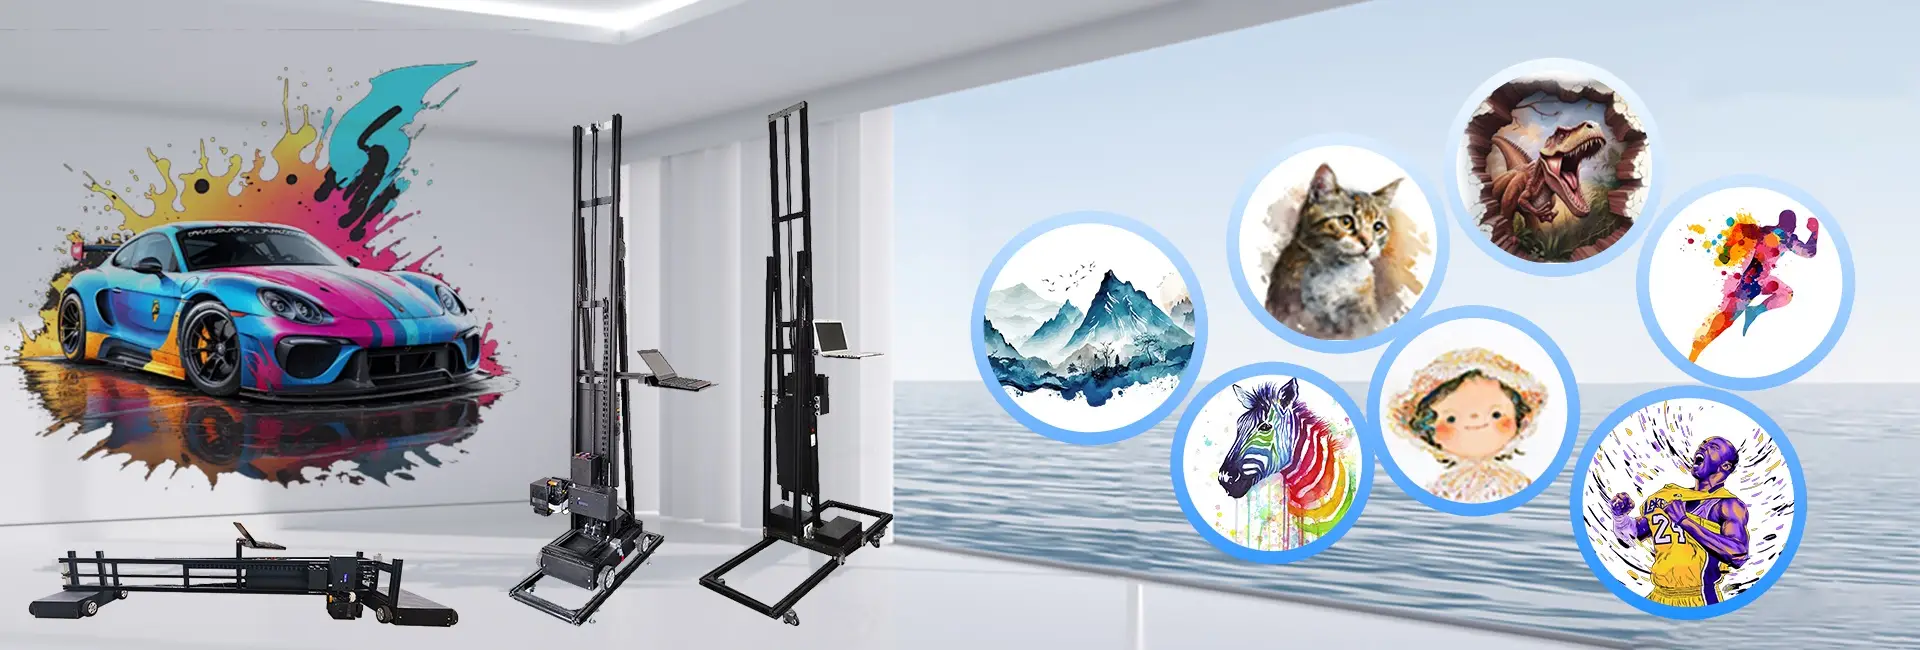
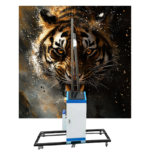
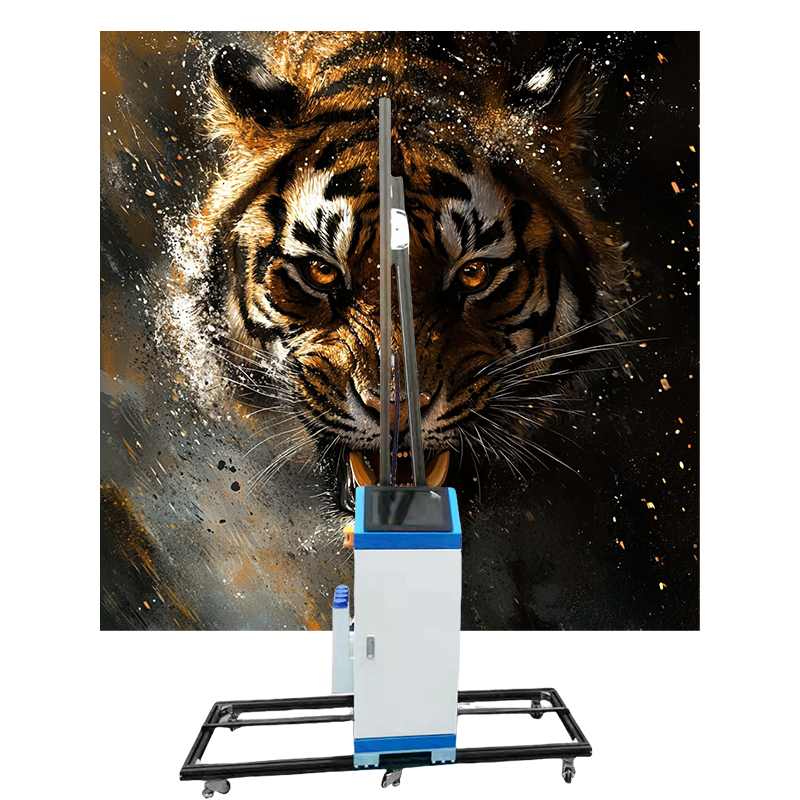
Wall printing has changed how artists, designers, and business users tackle big visual displays. From custom home interiors to branded work areas, wall printing lets digital images transfer smoothly to real surfaces. Yet, good outcomes never happen by chance. A solid process, starting from the initial design to the finished printed wall, is key for steady quality and lasting visual appeal. This piece guides you through a hands-on wall printing process, breaking down each part and showing how pro gear and careful steps really matter.
Why Is Understanding the Wall Printing Workflow Essential Before You Start?
Wall printing isn’t just about setting up a device near a wall and hitting print. Unlike compact printing, wall printing works on upright surfaces. These surfaces differ in roughness, dimensions, and surroundings. Without a clear process, even top-notch designs might flop in practice.
A set process matches creative goals with practical limits. It makes sure that file setup, wall state, printer arrangement, and the actual work all aim for the same result. For experts using a wall printer machine, knowing this process cuts down mistakes. It also saves effort and safeguards gear costs. For beginners, it creates trust and reliability right from the first job.
How Does the Design Phase Shape the Final Wall Printing Result?
What Design Elements Work Best for Wall Printing Projects?
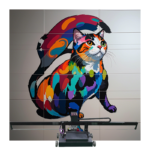
Design forms the base of every thriving wall printing job. Unlike computer visuals, wall designs need to consider how far people view them, the light around, and the wall’s size. Strong contrast, even layout, and flexible details usually work better when turned into wall printing.
Clarity matters a lot. Designs should be made at a sharpness that fits the wall’s real size. Pulling low-clarity images over wide areas causes clear blurring and faded sharpness. Picking colors is just as vital. Wall printing inks react with surface feel and room light in ways unlike digital displays.
How Should Digital Files Be Prepared Before Wall Printing Begins?
Before wall printing kicks off, digital files need thorough prep. This means sizing the design to the wall’s exact measurements. It also involves checking color settings and making sure file types work with the wall printer machine’s program.
Adjusting colors in prep helps cut gaps between screen views and the real print. Creators who grasp how hues act on rough surfaces get firmer grip on end results. This point is where fresh ideas meet strict tech rules. It sets the mood for the whole process.
What Preparation Steps Are Required Before Printing on the Wall?
How Does Wall Surface Condition Affect Wall Printing Quality?
The wall plays an active role in wall printing. Its material, evenness, and dirt level directly impact how ink sticks and how clear the image looks. Bumpy or grimy walls might lead to twists, ink soak problems, or uneven shades.
Getting the wall ready means checking it, wiping it down, and at times treating the surface. Flat walls give crisper prints. Rough ones call for tweaks in spacing and ink amount. Spotting these issues early stops simple troubles during the print.
Why Is Printer Positioning and Environment Setup So Important?
Wall printing requires steadiness. The printer needs a flat base with enough room and little shake. Things like room warmth, dampness, and light also shape how it runs.
A managed setting aids even ink drying and spot-on placement. For pro users and every vertical wall printing machine supplier, setting up right is vital for solid outcomes. This part links prep to the main action. It stands as one of the key spots in the process.
How Does the Actual Wall Printing Process Work Step by Step?
What Happens During Printer Calibration and Test Printing?
Tuning is the core tech part of wall printing. It lines up the print head, detectors, and spacing controls with the wall. Good tuning guarantees right image spots and even ink spread.
Trial printing is a must before the full run. Small sample areas show placement truth, shade actions, and wall fit. Changes done here avoid pricey errors down the line. For pros, tuning isn’t a single task. Instead, it adjusts to each fresh wall printing task.
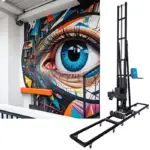
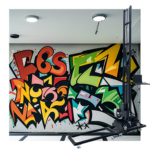
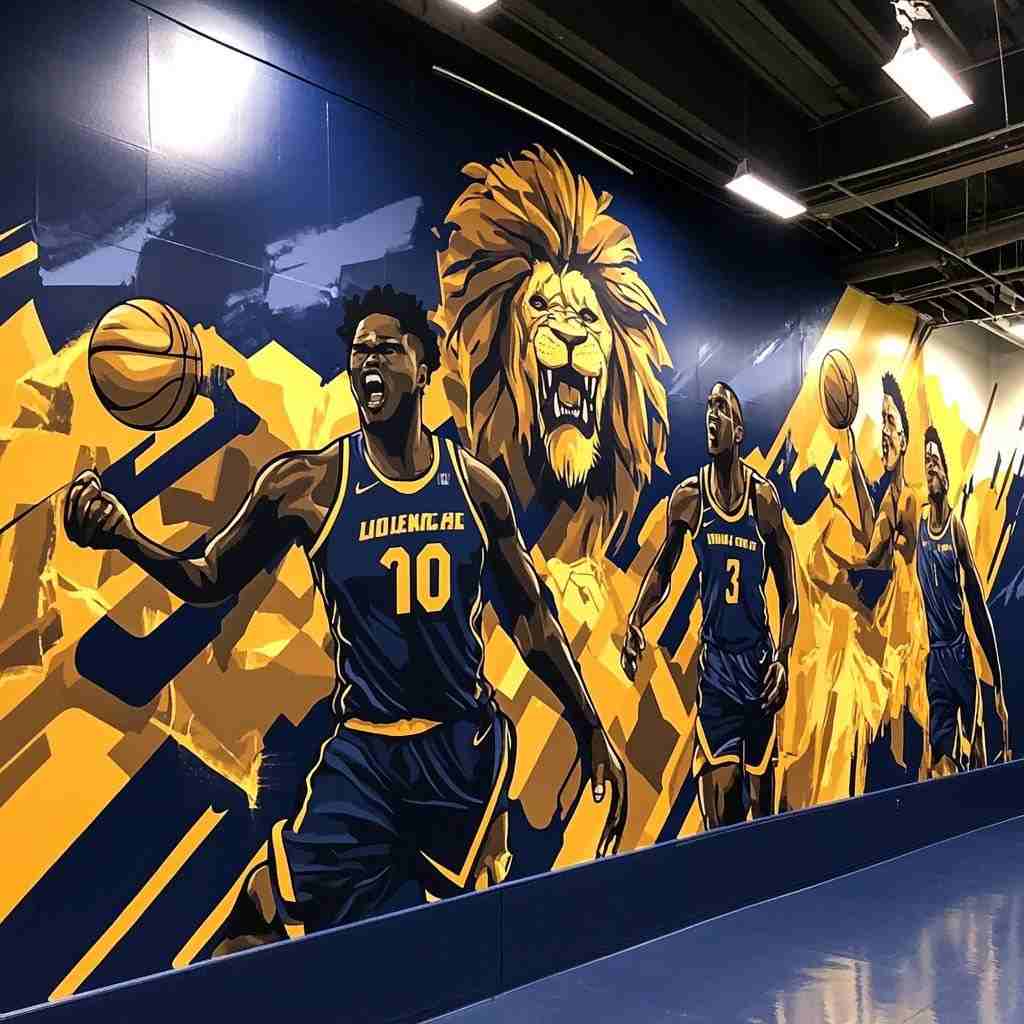
How Is Large-Scale Wall Printing Executed Smoothly?
After tuning ends, the full wall printing starts. The printer glides along the wall at a steady pace. It turns the digital plan into real form, one layer at a time. Watching closely during this keeps placement steady and ink steady.
Big wall printing often splits the plan into parts. Clean links between parts rely on exact motion and software sync. A strict process makes it steady and quick, even on huge walls.
How Do You Ensure a Clean and Durable Finished Wall Print?
What Should Be Checked Immediately After Wall Printing Is Completed?
Once printing wraps up, a close look is vital. This covers shade evenness, placement rightness, and wall strength. Small flaws can get fixed right away. But waiting might let problems stick for good.
The last check makes sure the printed wall matches the first idea. It also gives useful tips for better wall printing processes ahead.
How Can Wall Prints Maintain Long-Term Visual Quality?
Lasting strength hinges on surroundings and how it’s used. Inside wall printing often keeps looks for long stretches. Outside ones need extra thought.
Grasping how sun, wet, and touch hit printed walls aids in keeping the sight strong. A strong process doesn’t stop at printing. It adds tips on care after setup and what to expect.
How We at Hanjie Support a Complete and Reliable Wall Printing Workflow
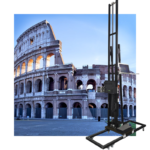
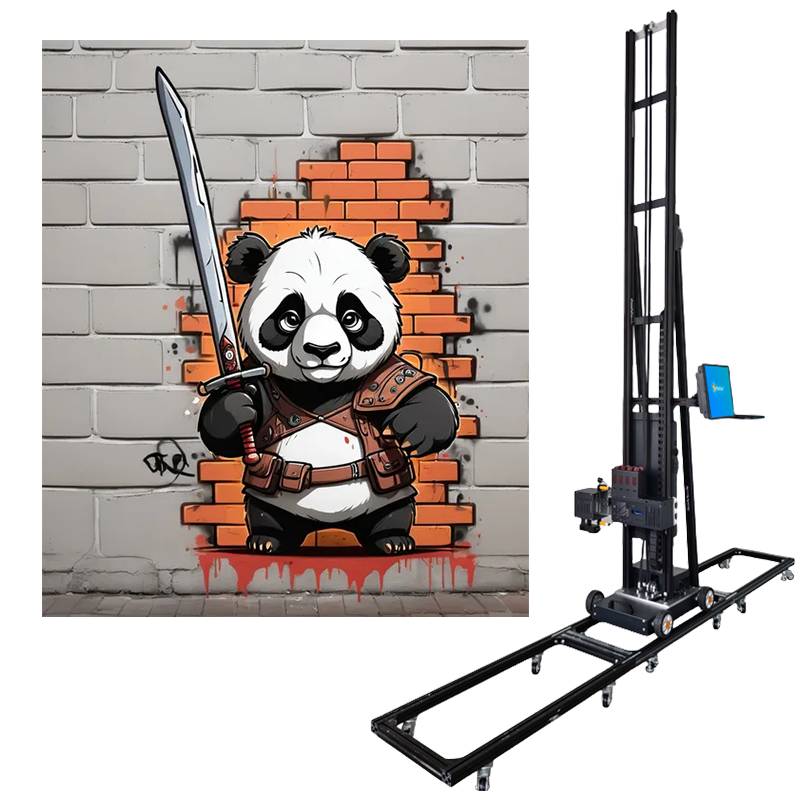
At Hanjie, we see wall printing as a full setup, not just one device. As a vertical wall printing machine supplier, we build our wall printer machine options to back every process step. This goes from initial setup to the main work.
We stress firmness, precision, and simple handling. Our wall printers are built to ease tuning, fit varied wall states, and hold steady results over time. By adding smart spacing control, exact motion setups, and easy software, we aid users in lowering tech hurdles. This lets them focus on fresh ideas.
Our time with many wall printing jobs helps us know real challenges. We use this in building products. It ensures our wall printer machine options fit both new users and skilled ones. At Hanjie, our aim is to make wall printing steady, repeatable, and able to grow.
FAQ
Q: How long does a complete wall printing workflow usually take?
A: The full time varies with wall size, design detail, and prep effort. Small tasks might wrap in hours. Bigger wall printing work can last a whole day, counting setup and tuning.
Q: Can wall printing be done on uneven or textured walls?
A: Yes, wall printing works on rough surfaces up to some point. Right tuning and spacing control are key to fit the wall printer machine to surface changes.
Q: Is wall printing suitable for commercial environments with high traffic?
A: Wall printing fits well in busy business spots if done with good prep and right materials. Inside uses often hold visual strength for long, so wall printing serves as a smart choice for marking and decor.